The MailChannels cPanel plugin is the recommended method. It automates most of the configuration and handles cPanel-specific requirements such as hourly email limits and SRS forwarding. Use the manual method only if you cannot install the plugin.
Path 1: Install the cPanel plugin (recommended)
The MailChannels cPanel plugin configures Exim automatically and stays compatible with cPanel updates. If you previously configured Exim manually, you must remove those manual settings before installing the plugin.Requirements
- cPanel & WHM version 68 or higher
- PHP 5.6 or higher
Installation
1
Run the installer
Log in to your server as root and run the following command:
If you are upgrading from the v2 plugin, the installer will prompt you to uninstall it first. If you choose not to, the installer will exit — uninstall v2 manually before proceeding.
2
Open the plugin in WHM
Log in to the cPanel/WHM interface and search for MailChannels using the search box in the top-left navigation bar. Click the result to open the plugin in a new tab.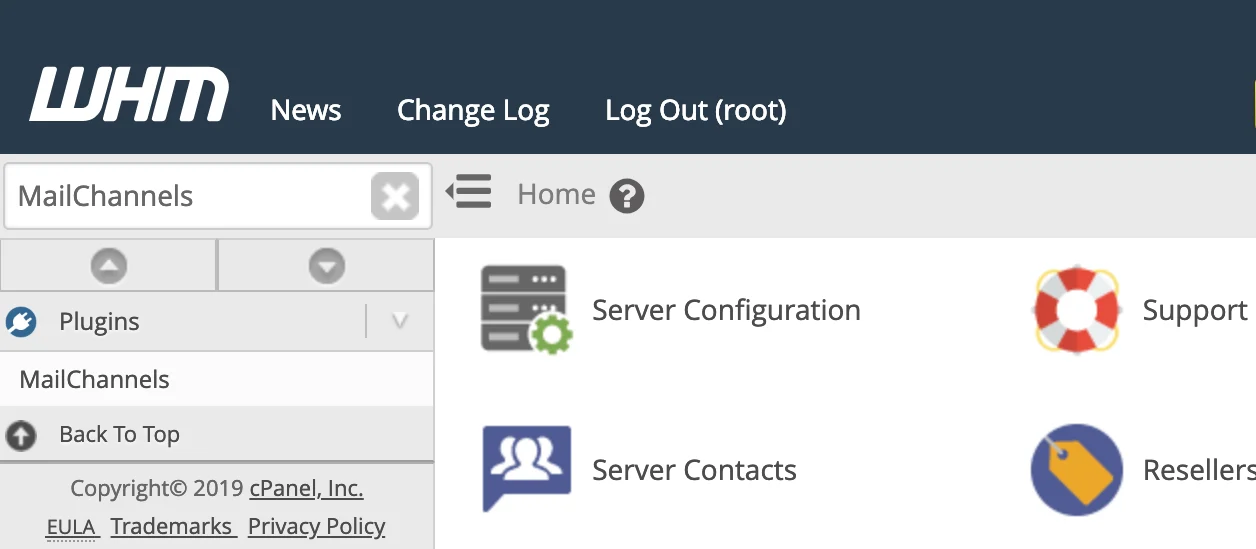
3
Configure your API key
In the plugin, click Configuration in the left navigation bar and expand the API section.Enter your MailChannels API key and click Update. Your API key can be created or retrieved from the Host Console under Settings > Account > API Keys.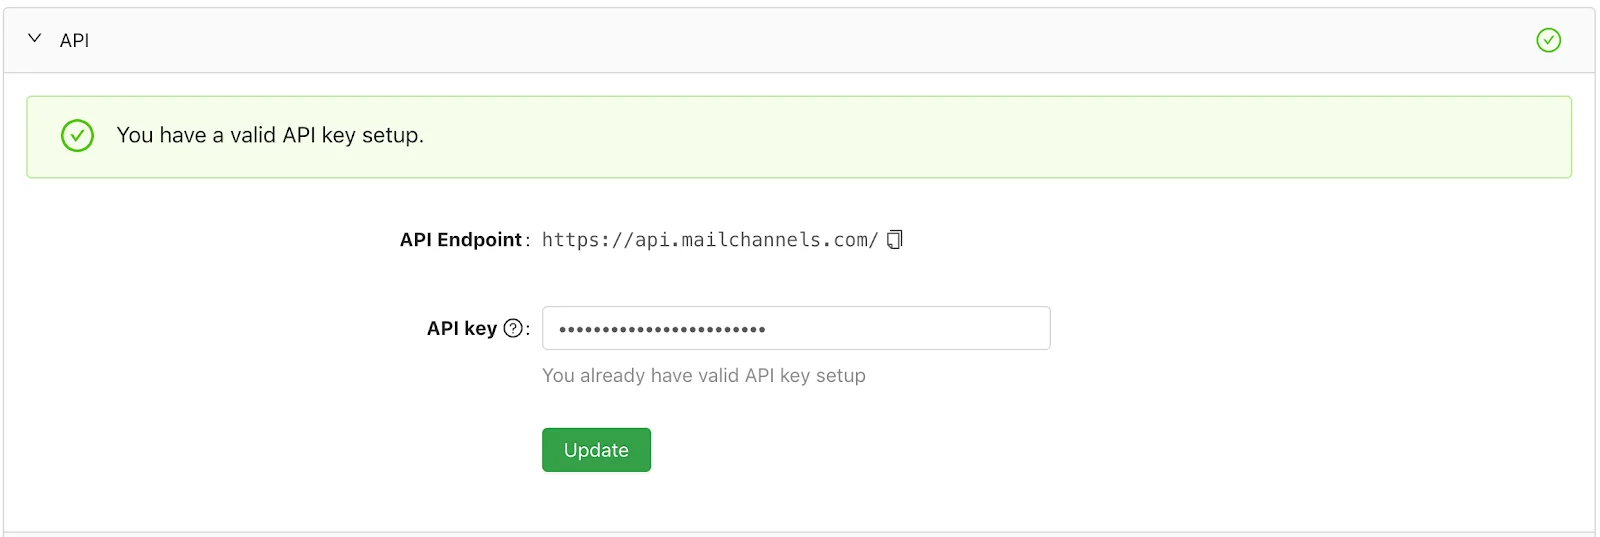
4
Configure Outbound settings
Still in Configuration, expand the Outbound section.
-
MailChannels Account ID — found in the top-right corner of the Host Console.
- SMTP Password — create or retrieve one in the Host Console under Settings > Account > SMTP Passwords.
Uninstalling
To uninstall the plugin, run the following as root:--purge flag to also remove log files (/var/log/mailchannels) and configuration files (/etc/mailchannels):
Known issues
- SPF records are not automatically updated for cPanel sub-domains.
- cPanel servers with 1,000 or more domains may time out before all SPF records are updated.
Path 2: Manual Exim configuration
If you cannot use the plugin, you can configure Exim manually through WHM’s Exim Advanced Editor. All of the changes below are made within Service Configuration > Exim Configuration Manager > Advanced Editor.Step 1 — Add authentication (Section: AUTH)
This block tells Exim how to authenticate with MailChannels when it connects tosmtp.mailchannels.net.
Scroll to Section: AUTH and add the following block. If begin authenticators is already present, do not add it a second time — add only the mailchannels_login stanza below it.
Section: AUTH
YOUR_USERNAME and YOUR_PASSWORD with your actual MailChannels SMTP credentials.
Step 2 — Add a router (choose one section)
The router tells Exim to send outgoing mail through MailChannels instead of delivering it directly. Choose one of the following sections depending on your requirements.- POSTMAILCOUNT (recommended)
- ROUTERSTART (simple)
Use this section if you need to respect cPanel’s Max hourly emails per domain limits. Scroll to Section: POSTMAILCOUNT and add the appropriate block for your cPanel version.For cPanel v108 or later (includes SRS support for forwarded mail):For cPanel v106 or earlier:
Section: POSTMAILCOUNT — cPanel v108+
Section: POSTMAILCOUNT — cPanel v106 and earlier
The
domains = ! +local_domains condition ensures that email addressed to domains hosted locally on the server is delivered directly and not sent to MailChannels.Step 3 — Add a transport (Section: TRANSPORTSTART)
The transport defines how Exim connects to MailChannels — including authentication, TLS requirements, theX-AuthUser header for sender identification, and DKIM signing.
Scroll to Section: TRANSPORTSTART and add the following block. If you are on cPanel v108 or later and chose the POSTMAILCOUNT router above, also add the mailchannels_forwarded_smtp block that follows.
For all cPanel versions — base transport:
Section: TRANSPORTSTART
Section: TRANSPORTSTART — SRS forwarded transport (v108+)
The
X-AuthUser header gives MailChannels the identity of the sending cPanel user. The dkim_* lines sign outgoing messages with cPanel’s standard DKIM keys. The max_rcpt = 1 setting on the forwarded transport is required for SRS to rewrite the return path correctly for each recipient.Step 4 — Save the configuration
Scroll to the bottom of the Advanced Editor page and click Save. WHM will validate the configuration and restart Exim. Watch for any error messages — if the save fails, review the error output and correct the relevant section.Optional configurations
Exclude or restrict specific domains
Modify thesend_via_mailchannels router to control which senders and recipients are routed through MailChannels.
Route only specific sender domains
Exclude specific sender domains
Exclude specific recipient domains
Exim queue optimization
Add these settings in the appropriate sections of the Advanced Editor to tune queue and retry behavior. Section: RETRYSTART — MailChannels recommended retry timing:Section: RETRYSTART
Section: main
/etc/sysconfig/exim (CentOS/RHEL/CloudLinux) or /etc/default/exim (Debian/Ubuntu):