Create an account or log in
To sign up, visit mailchannels.com/pricing and choose Outbound Filtering or Inbound Filtering. You can also request a free trial. To log in, go to console.mailchannels.net. You can sign in with your email and password or use Sign in with Google.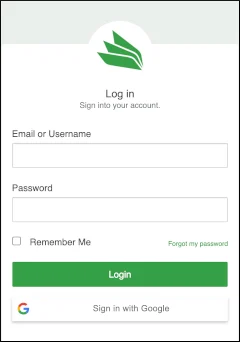

SMTP Passwords
Your account has a single SMTP username (Account ID). You can create multiple SMTP passwords — one per mail server or logical group — from Settings > Account > SMTP Passwords.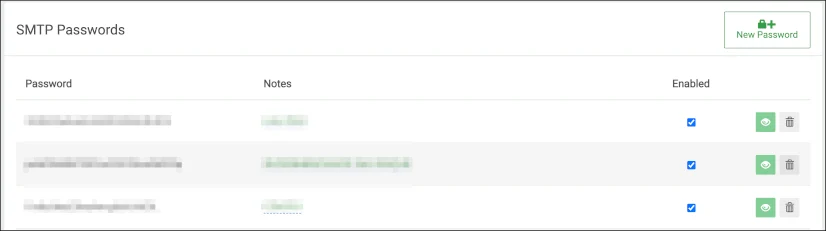
Console Users
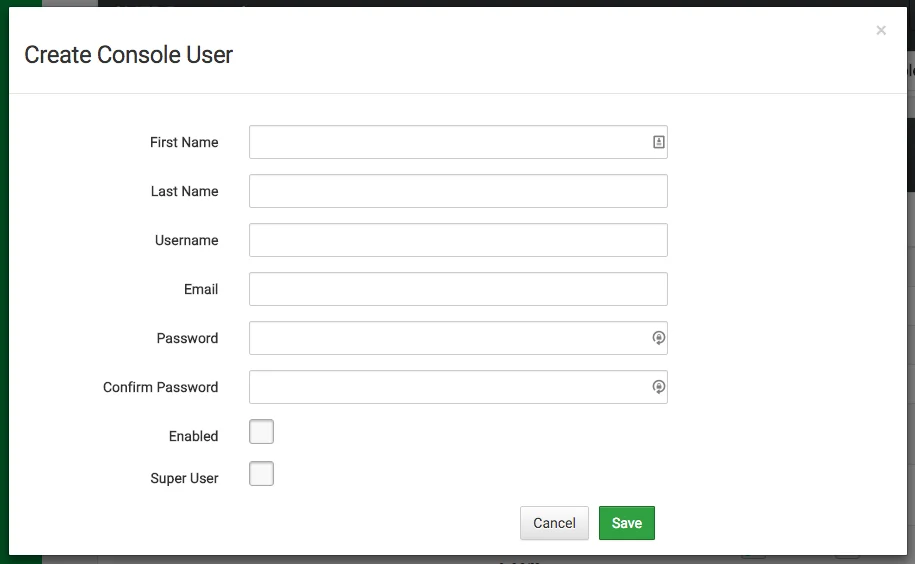
Console Users are administrators with access to the Host Console. Each user has a name, login email, enabled/disabled state, and the following options: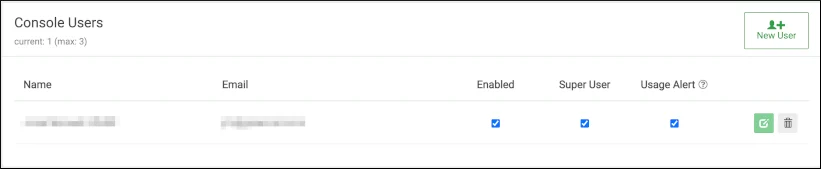
Starter and Lite plans limit the number of console users that can be created. Upgrade your plan to add more.
- Navigate to Settings > Account > Console Users.
- Click New User.
- Enter the user’s name and email address, set a password, and configure their access permissions.
- Click Save.
Google Sign-On Domains
Lists the domains permitted to sign in to your Host Console using Google authentication.
API Keys
API keys are used to group and secure inbound filtering domains. A domain can be associated with a single key or left unpaired. Keys created here are assigned to domains in Inbound > Domains.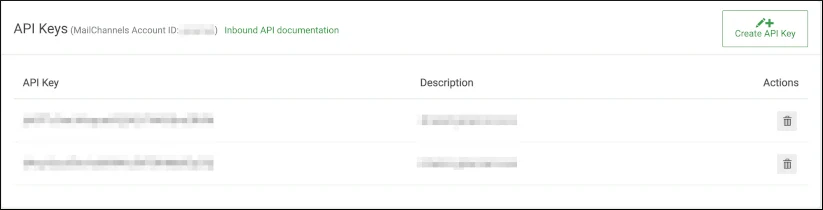
Insights
Insights embeds a customized link in NDR bounce messages, giving your users a self-service way to report false positives without contacting support. The link leads to a page showing the reason for the rejection and a Not Spam button. You can enable or disable Insights from Settings > Account > Insights, and set how long Insights links remain active before expiring.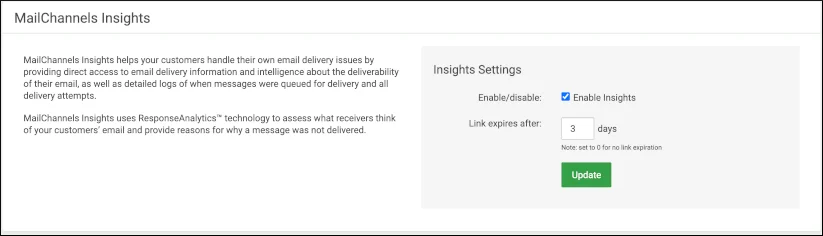
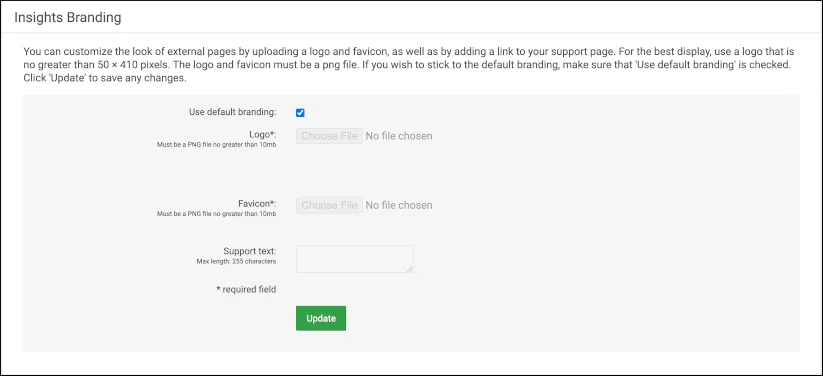
Insights Branding
Customize the logo, favicon, and support text shown on Insights pages. Available on Standard plans and above.