Global safelists and blocklists
Global lists are managed from the Host Console and apply to every domain in your account — including domains you add in the future. As soon as you add an entry to a global list, it takes effect immediately for all current and future domains. You can add any of the following entry types to a global safelist or blocklist:- Email address — for example,
newsletter@example.com - Domain — for example,
example.com - IP address — for example,
192.0.2.1
Add a global safelist or blocklist entry
- Sign in to the Host Console.
- From the left navigation, click Inbound, then click Global Safelist or Global Blocklist.
- Click Add New Safelist Items (or Add New Blocklist Items).
The Safelist page looks the same.
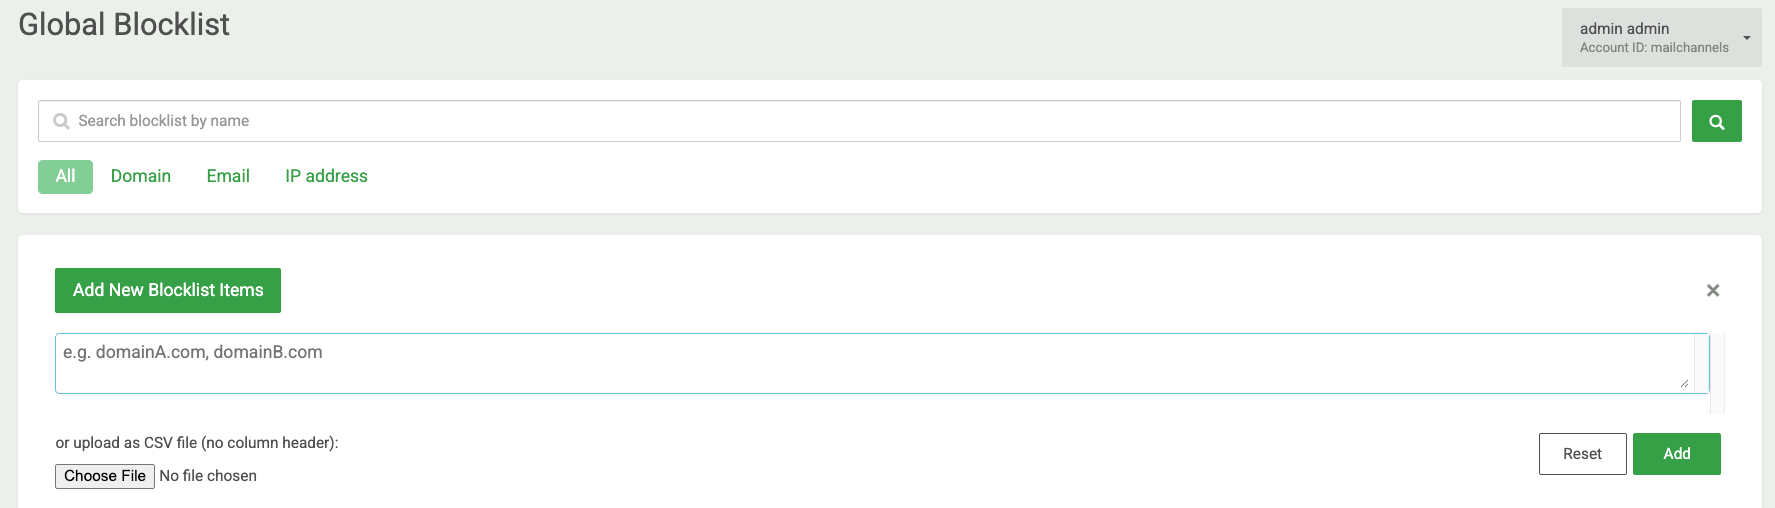
- Enter one or more email addresses, domains, or IP addresses in the text field, separated by commas. To add many entries at once, upload a CSV file with no column header instead.
- Click Add. Entries appear in the list immediately and apply to all domains in your account.

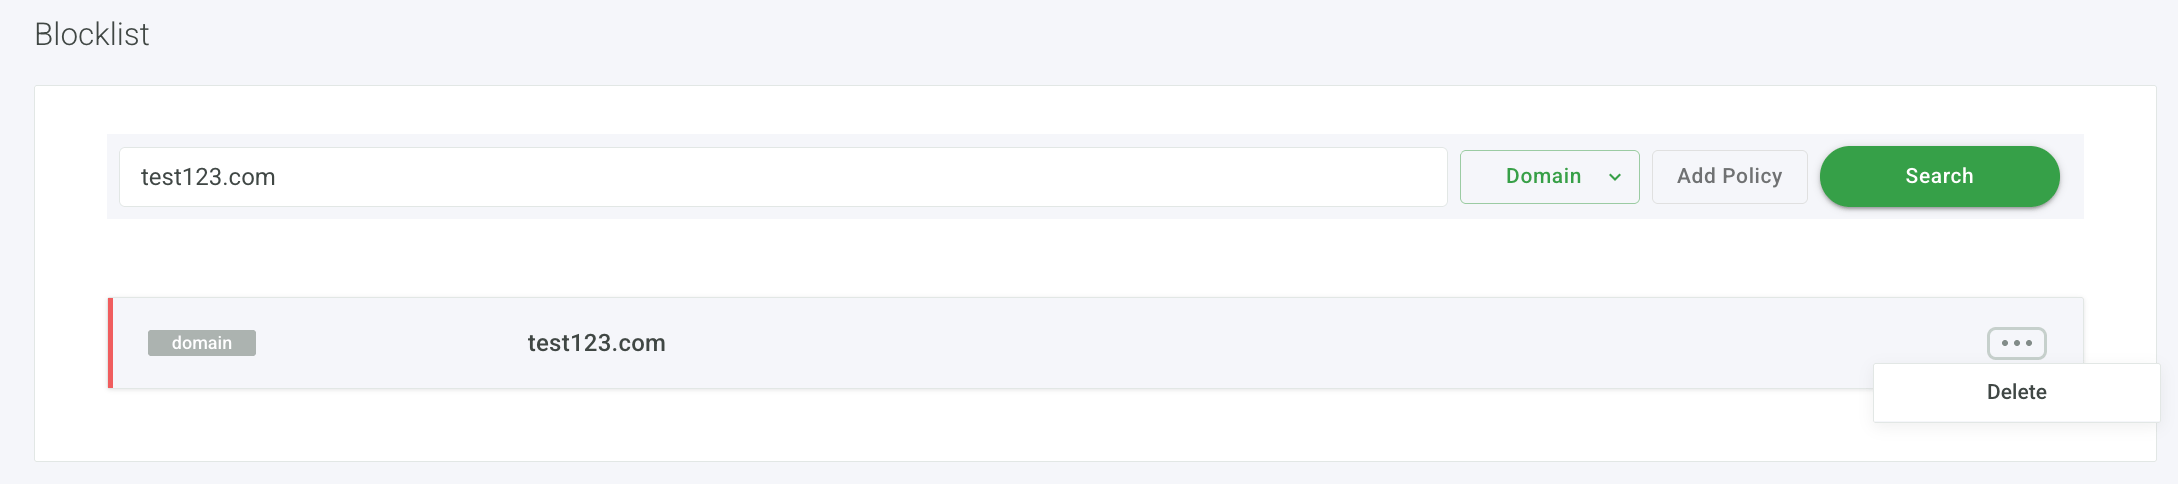
Per-domain safelists and blocklists
Domain admins and mailbox users both sign in to the Domain Console to manage their safelists and blocklists. Domain admins see domain-level entries and configure domain-level settings. Mailbox users see and manage only their own personal entries. The UI is the same for both — user-level settings take precedence over domain and global settings. You can add any of the following entry types:- Email address — for example,
newsletter@example.com - Domain — for example,
example.com - IP address — for example,
192.0.2.1
Add a per-domain safelist or blocklist entry
- Sign in to the Domain Console.
- Click Safelist or Blocklist in the left navigation.
The Safelist page looks the same.
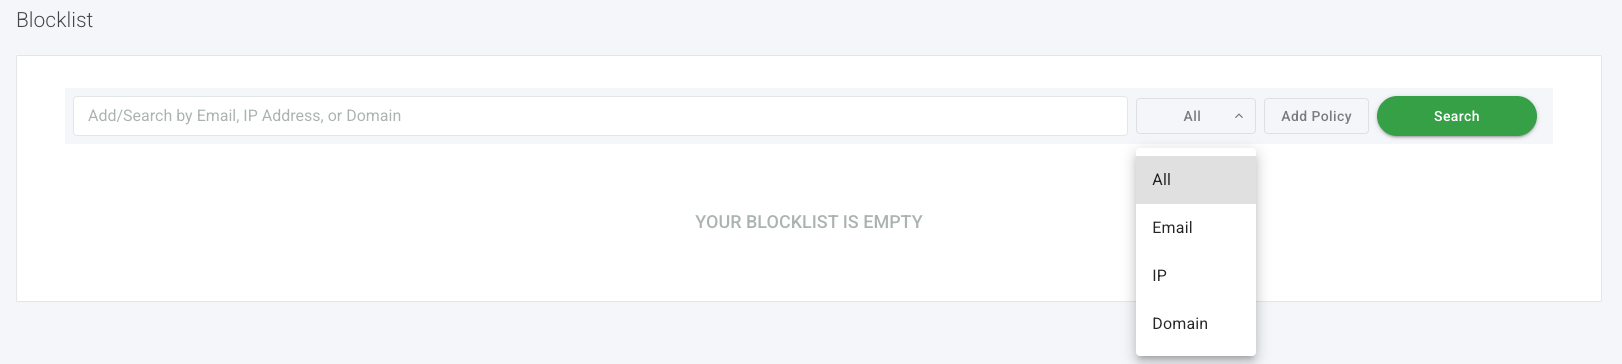
- Type an email address, IP address, or domain in the Add/Search field.
- Click Add Policy. The entry appears in the list immediately.