- Downstream record — tells MailChannels where to deliver filtered mail (your mail server)
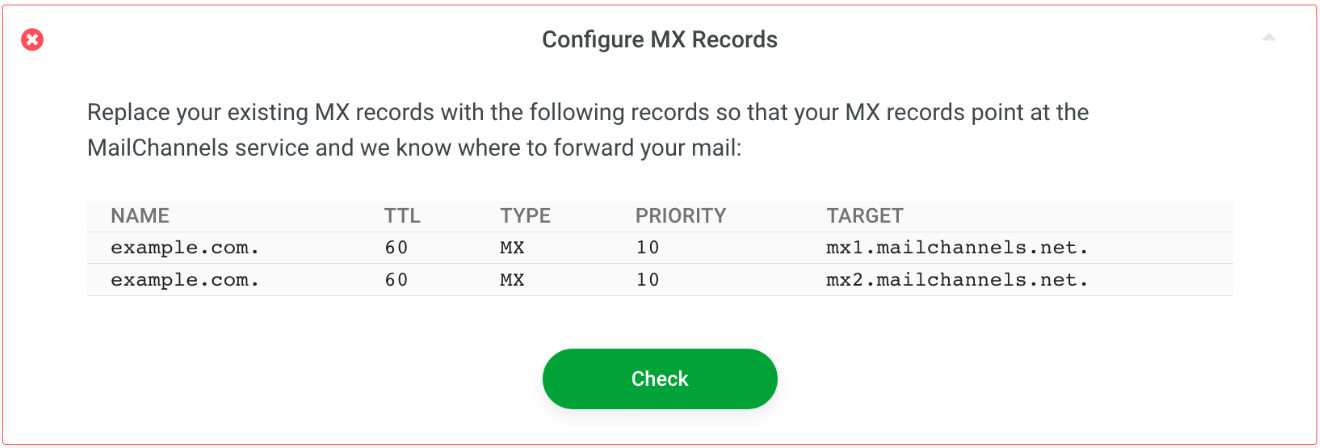
- MX records — tells the internet to send mail for your domain to MailChannels first
Configure your downstream record
Open the downstream records settings
Go to the Settings page in your Domain Console and expand the Configure Downstream Records panel.
Add your mail server hostname
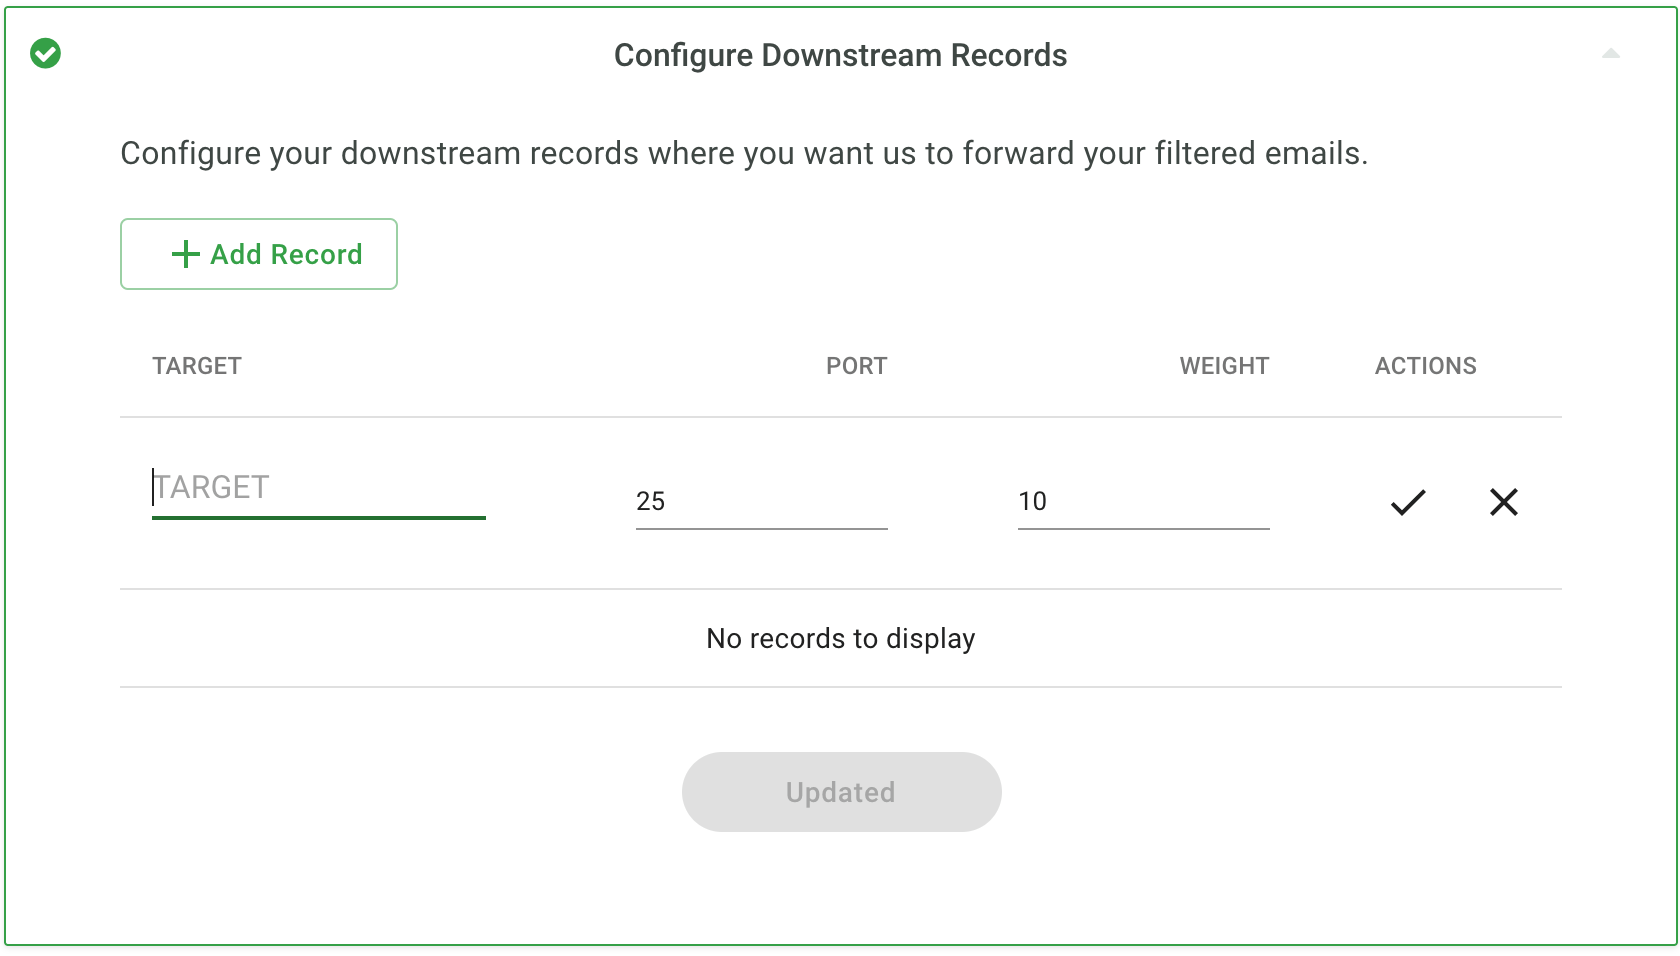
Validation checks that
postmaster@ exists at the downstream hostname you provide. This is a required reserved account per RFC 5321. If validation fails, ensure your mail server has a valid postmaster user and try again.Update your MX records
Only proceed once your downstream record is saved and validated. Update your domain’s MX records to route inbound mail through MailChannels by replacing your existing records with:| Priority | Mail server |
|---|---|
| 10 | mx1.mailchannels.net |
| 20 | mx2.mailchannels.net |