> ## Documentation Index
> Fetch the complete documentation index at: https://docs.mailchannels.com/llms.txt
> Use this file to discover all available pages before exploring further.
# Configure MX records and downstream delivery
> Configure your domain's MX records to route mail through MailChannels and set up a downstream record so filtered mail is delivered to your mail server.
 Two records must be configured for mail to flow through MailChannels:
* **Downstream record** ? tells MailChannels where to deliver filtered mail (your mail server)
* **MX records** ? tells the internet to send mail for your domain to MailChannels first
Configure your downstream record **before** updating your MX records. Once your MX records go live, mail starts routing through MailChannels immediately. If the downstream record is not in place, MailChannels will have nowhere to forward filtered mail and messages will not be delivered.
## Configure your downstream record
Go to the [Settings](https://app.mailchannels.com/settings) page in your Domain Console and expand the **Configure Downstream Records** panel.
Two records must be configured for mail to flow through MailChannels:
* **Downstream record** ? tells MailChannels where to deliver filtered mail (your mail server)
* **MX records** ? tells the internet to send mail for your domain to MailChannels first
Configure your downstream record **before** updating your MX records. Once your MX records go live, mail starts routing through MailChannels immediately. If the downstream record is not in place, MailChannels will have nowhere to forward filtered mail and messages will not be delivered.
## Configure your downstream record
Go to the [Settings](https://app.mailchannels.com/settings) page in your Domain Console and expand the **Configure Downstream Records** panel.
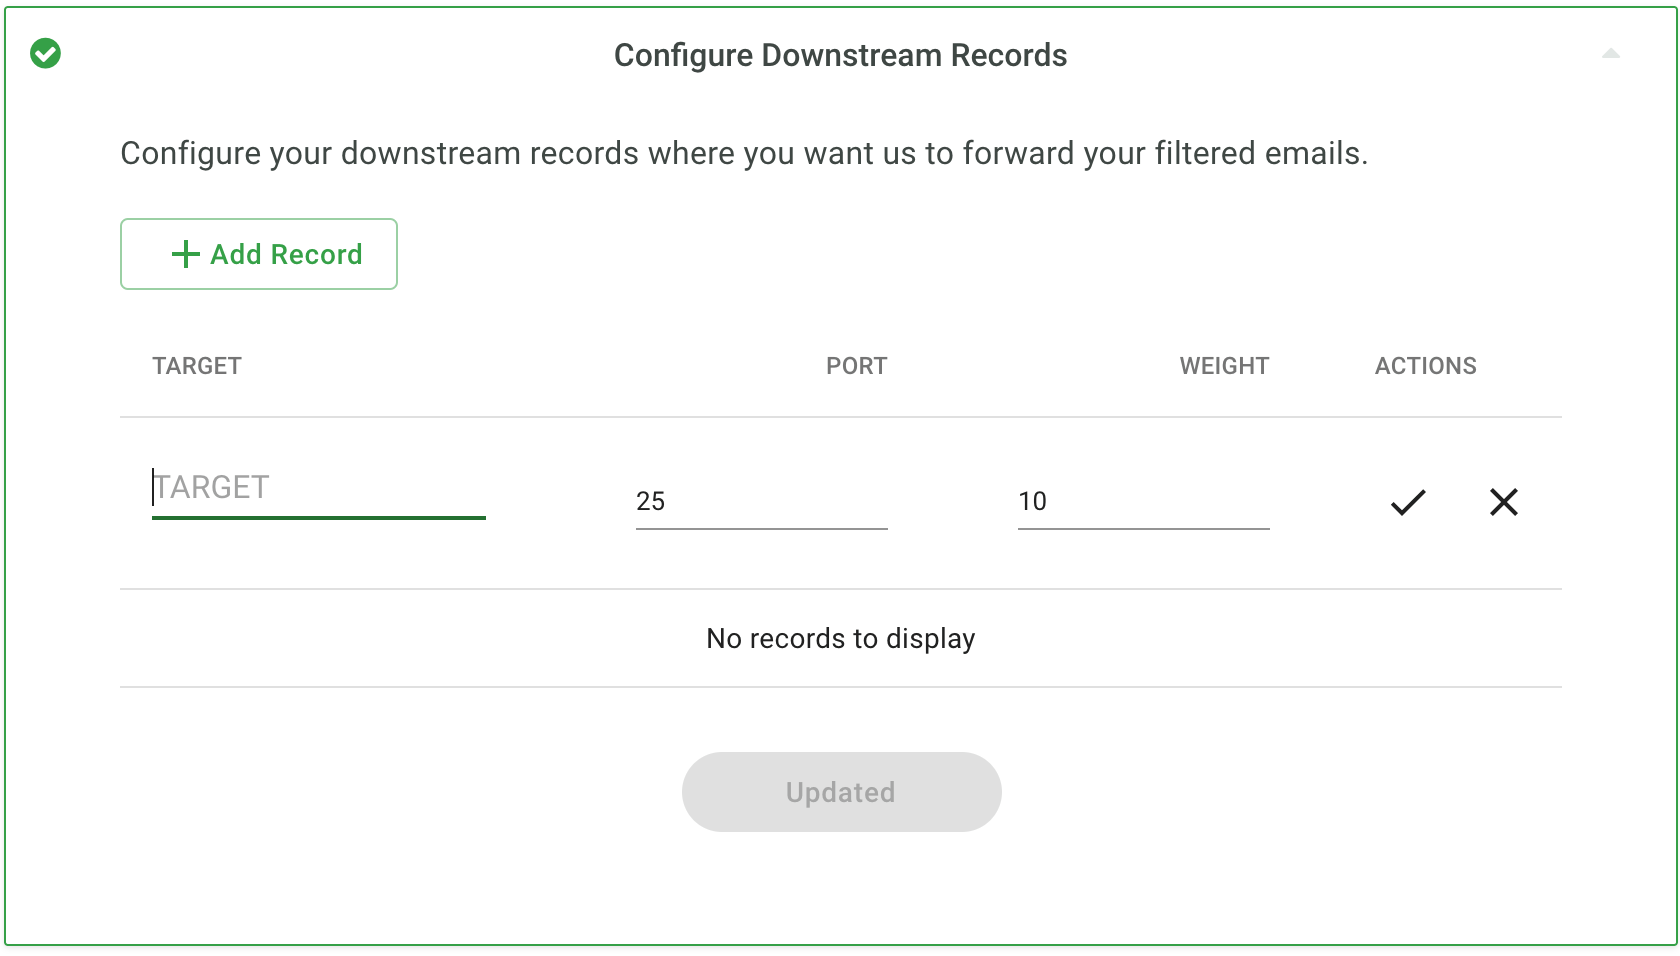 Enter your mail server hostname ? this is the same hostname currently used in your domain's MX records. Click **Add Record** for each hostname, then click **Update** to save and validate.
If you are unsure about Port and Weight, leave the default values.
Validation checks that `postmaster@` exists at the downstream hostname you provide. This is a required reserved account per [RFC 5321](https://tools.ietf.org/html/rfc5321#section-4.5.1). If validation fails, ensure your mail server has a valid `postmaster` user and try again.
## Update your MX records
Only proceed once your downstream record is saved and validated. Update your domain's MX records to route inbound mail through MailChannels by replacing your existing records with:
| Priority | Mail server |
| -------- | ---------------------- |
| 10 | `mx1.mailchannels.net` |
| 20 | `mx2.mailchannels.net` |
Enter your mail server hostname ? this is the same hostname currently used in your domain's MX records. Click **Add Record** for each hostname, then click **Update** to save and validate.
If you are unsure about Port and Weight, leave the default values.
Validation checks that `postmaster@` exists at the downstream hostname you provide. This is a required reserved account per [RFC 5321](https://tools.ietf.org/html/rfc5321#section-4.5.1). If validation fails, ensure your mail server has a valid `postmaster` user and try again.
## Update your MX records
Only proceed once your downstream record is saved and validated. Update your domain's MX records to route inbound mail through MailChannels by replacing your existing records with:
| Priority | Mail server |
| -------- | ---------------------- |
| 10 | `mx1.mailchannels.net` |
| 20 | `mx2.mailchannels.net` |
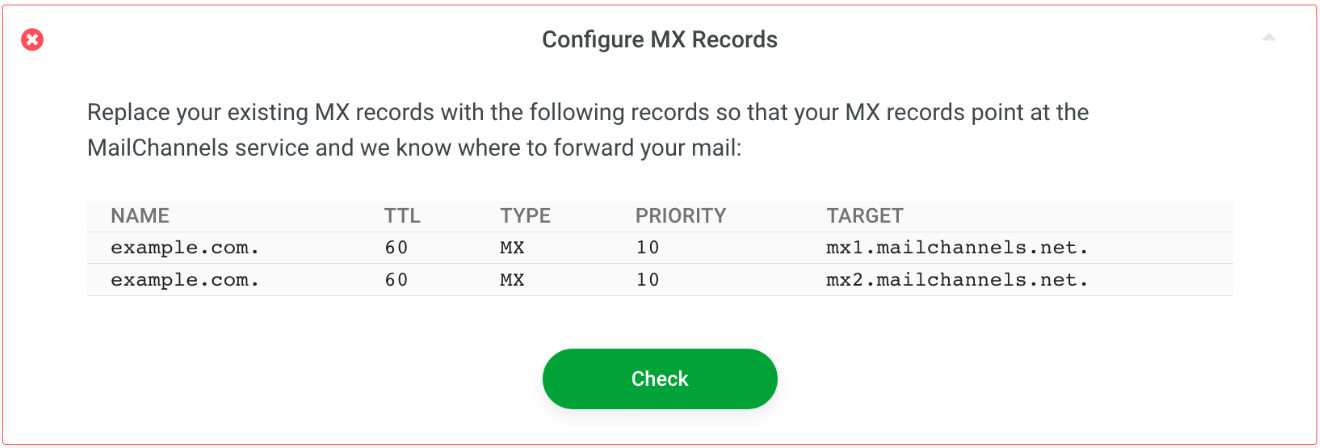 DNS changes can take several minutes to propagate. Once the records are live, click **Check** in the Configure MX Records panel to confirm they are set up correctly.