> ## Documentation Index
> Fetch the complete documentation index at: https://docs.mailchannels.com/llms.txt
> Use this file to discover all available pages before exploring further.
# Manage domains in MailChannels Inbound Filtering
> Add and manage domains protected by MailChannels Inbound Filtering with single entry, bulk CSV upload, domain aliases, and downstream delivery.
The Domains section of the Host Console is where you add and manage every domain protected by MailChannels Inbound Filtering. You can add domains one at a time, upload them in bulk using a CSV file, configure domain aliases, and provision parked domains. Once a domain is added, you can search for it, access its settings, and log in to the Domain Console to configure users, downstream mail servers, and safelists.
## Add a single domain
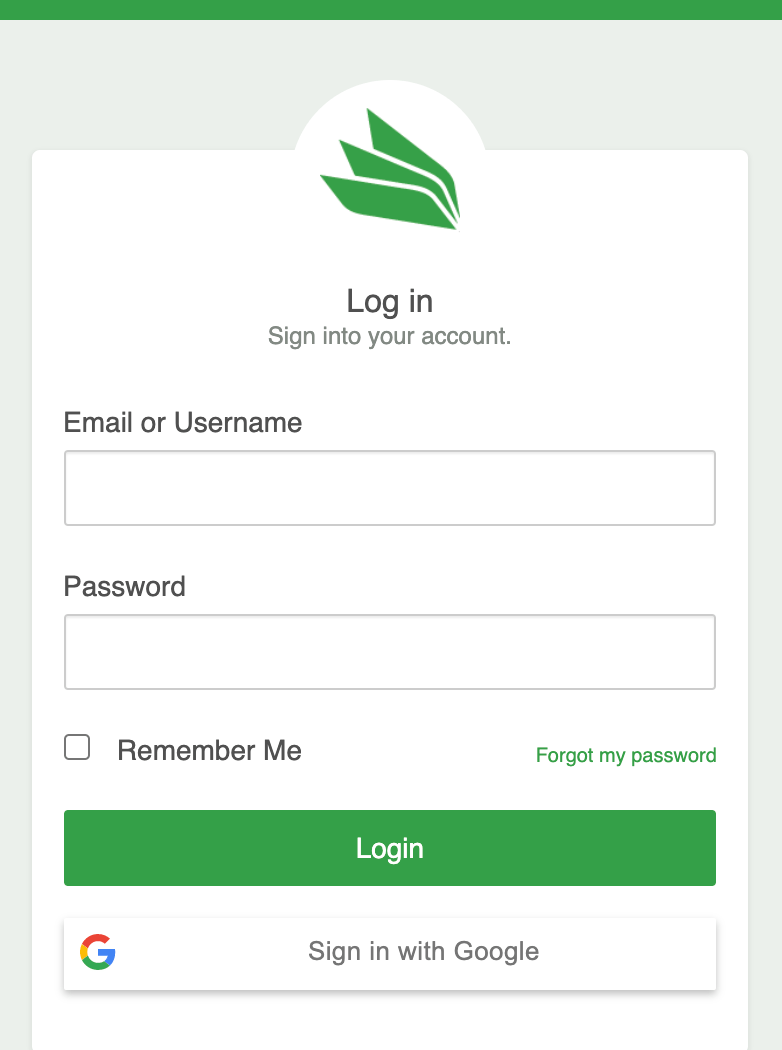
Go to [console.mailchannels.net](https://console.mailchannels.net) and sign in with your host credentials.
 From the Dashboard, click **Inbound**, then click **Domains**.
Click **Add New Domains**, enter the domain name in the text field, and click **Add**.
From the Dashboard, click **Inbound**, then click **Domains**.
Click **Add New Domains**, enter the domain name in the text field, and click **Add**.
 A confirmation message displays the number of domains successfully added, and the new domain appears in the list below
## Add domains in bulk using a CSV file
You can add up to 1,000 domains at once by uploading a CSV file. Each row in the file represents one domain and its downstream mail server address or addresses.
Create a plain text file with one domain per line. Do not include column headers. Each row must contain the domain name followed by its downstream address in `target:port` or `target:port:weight` format. The downstream address tells MailChannels where to deliver filtered mail after scanning.
For domains with multiple downstream targets, enclose all addresses in double quotes and separate them with commas:
```csv theme={null}
example.com,mx.example.com:25
example2.com,"mx.example.com:25:10,mx2.example.com:25"
```
The `weight` value is optional. When you specify multiple downstream addresses, MailChannels uses the weight to determine delivery priority. A lower weight means higher priority.
From the Dashboard, click **Inbound**, then click **Domains**. Click **Add New Domains**, choose the file upload option, select your CSV file, and click **Add**.
After the upload completes, a summary message confirms how many domains were added successfully. Any rows that failed to import are reported so you can correct and re-upload them.
## Add a domain alias
Domain aliasing lets you associate additional domain names with an existing primary domain. Aliases share the same downstream delivery path, spam policy, and quarantine settings as the primary domain and do not count against your filtered domain quota. See [Domain aliases](/inbound/domain-alias) for full details and setup instructions.
## Search for a domain
1. From the Dashboard, click **Inbound**, then click **Domains**.
2. Type your search terms into the **Search by domain** field.
3. Press **Enter** or click the magnifying glass button.
The list filters to show matching domains. You can search by exact match or partial match.
## Manage domain settings
To configure settings for a specific domain, click **Login** next to the domain in the Domains list. This opens the Domain Console for that domain, where you can manage:
* Users and user policies
* Domain administrators
* MX records and downstream mail server addresses
* Safelists and blocklists
## API-key domain association
You can associate groups of domains with specific API keys rather than managing all domains under a single key. This limits the blast radius if a key is ever compromised ??? only the domains associated with that key are at risk. See [Automate inbound domain management with the Provisioning API](/inbound/provisioning-api) for details.
A confirmation message displays the number of domains successfully added, and the new domain appears in the list below
## Add domains in bulk using a CSV file
You can add up to 1,000 domains at once by uploading a CSV file. Each row in the file represents one domain and its downstream mail server address or addresses.
Create a plain text file with one domain per line. Do not include column headers. Each row must contain the domain name followed by its downstream address in `target:port` or `target:port:weight` format. The downstream address tells MailChannels where to deliver filtered mail after scanning.
For domains with multiple downstream targets, enclose all addresses in double quotes and separate them with commas:
```csv theme={null}
example.com,mx.example.com:25
example2.com,"mx.example.com:25:10,mx2.example.com:25"
```
The `weight` value is optional. When you specify multiple downstream addresses, MailChannels uses the weight to determine delivery priority. A lower weight means higher priority.
From the Dashboard, click **Inbound**, then click **Domains**. Click **Add New Domains**, choose the file upload option, select your CSV file, and click **Add**.
After the upload completes, a summary message confirms how many domains were added successfully. Any rows that failed to import are reported so you can correct and re-upload them.
## Add a domain alias
Domain aliasing lets you associate additional domain names with an existing primary domain. Aliases share the same downstream delivery path, spam policy, and quarantine settings as the primary domain and do not count against your filtered domain quota. See [Domain aliases](/inbound/domain-alias) for full details and setup instructions.
## Search for a domain
1. From the Dashboard, click **Inbound**, then click **Domains**.
2. Type your search terms into the **Search by domain** field.
3. Press **Enter** or click the magnifying glass button.
The list filters to show matching domains. You can search by exact match or partial match.
## Manage domain settings
To configure settings for a specific domain, click **Login** next to the domain in the Domains list. This opens the Domain Console for that domain, where you can manage:
* Users and user policies
* Domain administrators
* MX records and downstream mail server addresses
* Safelists and blocklists
## API-key domain association
You can associate groups of domains with specific API keys rather than managing all domains under a single key. This limits the blast radius if a key is ever compromised ??? only the domains associated with that key are at risk. See [Automate inbound domain management with the Provisioning API](/inbound/provisioning-api) for details.